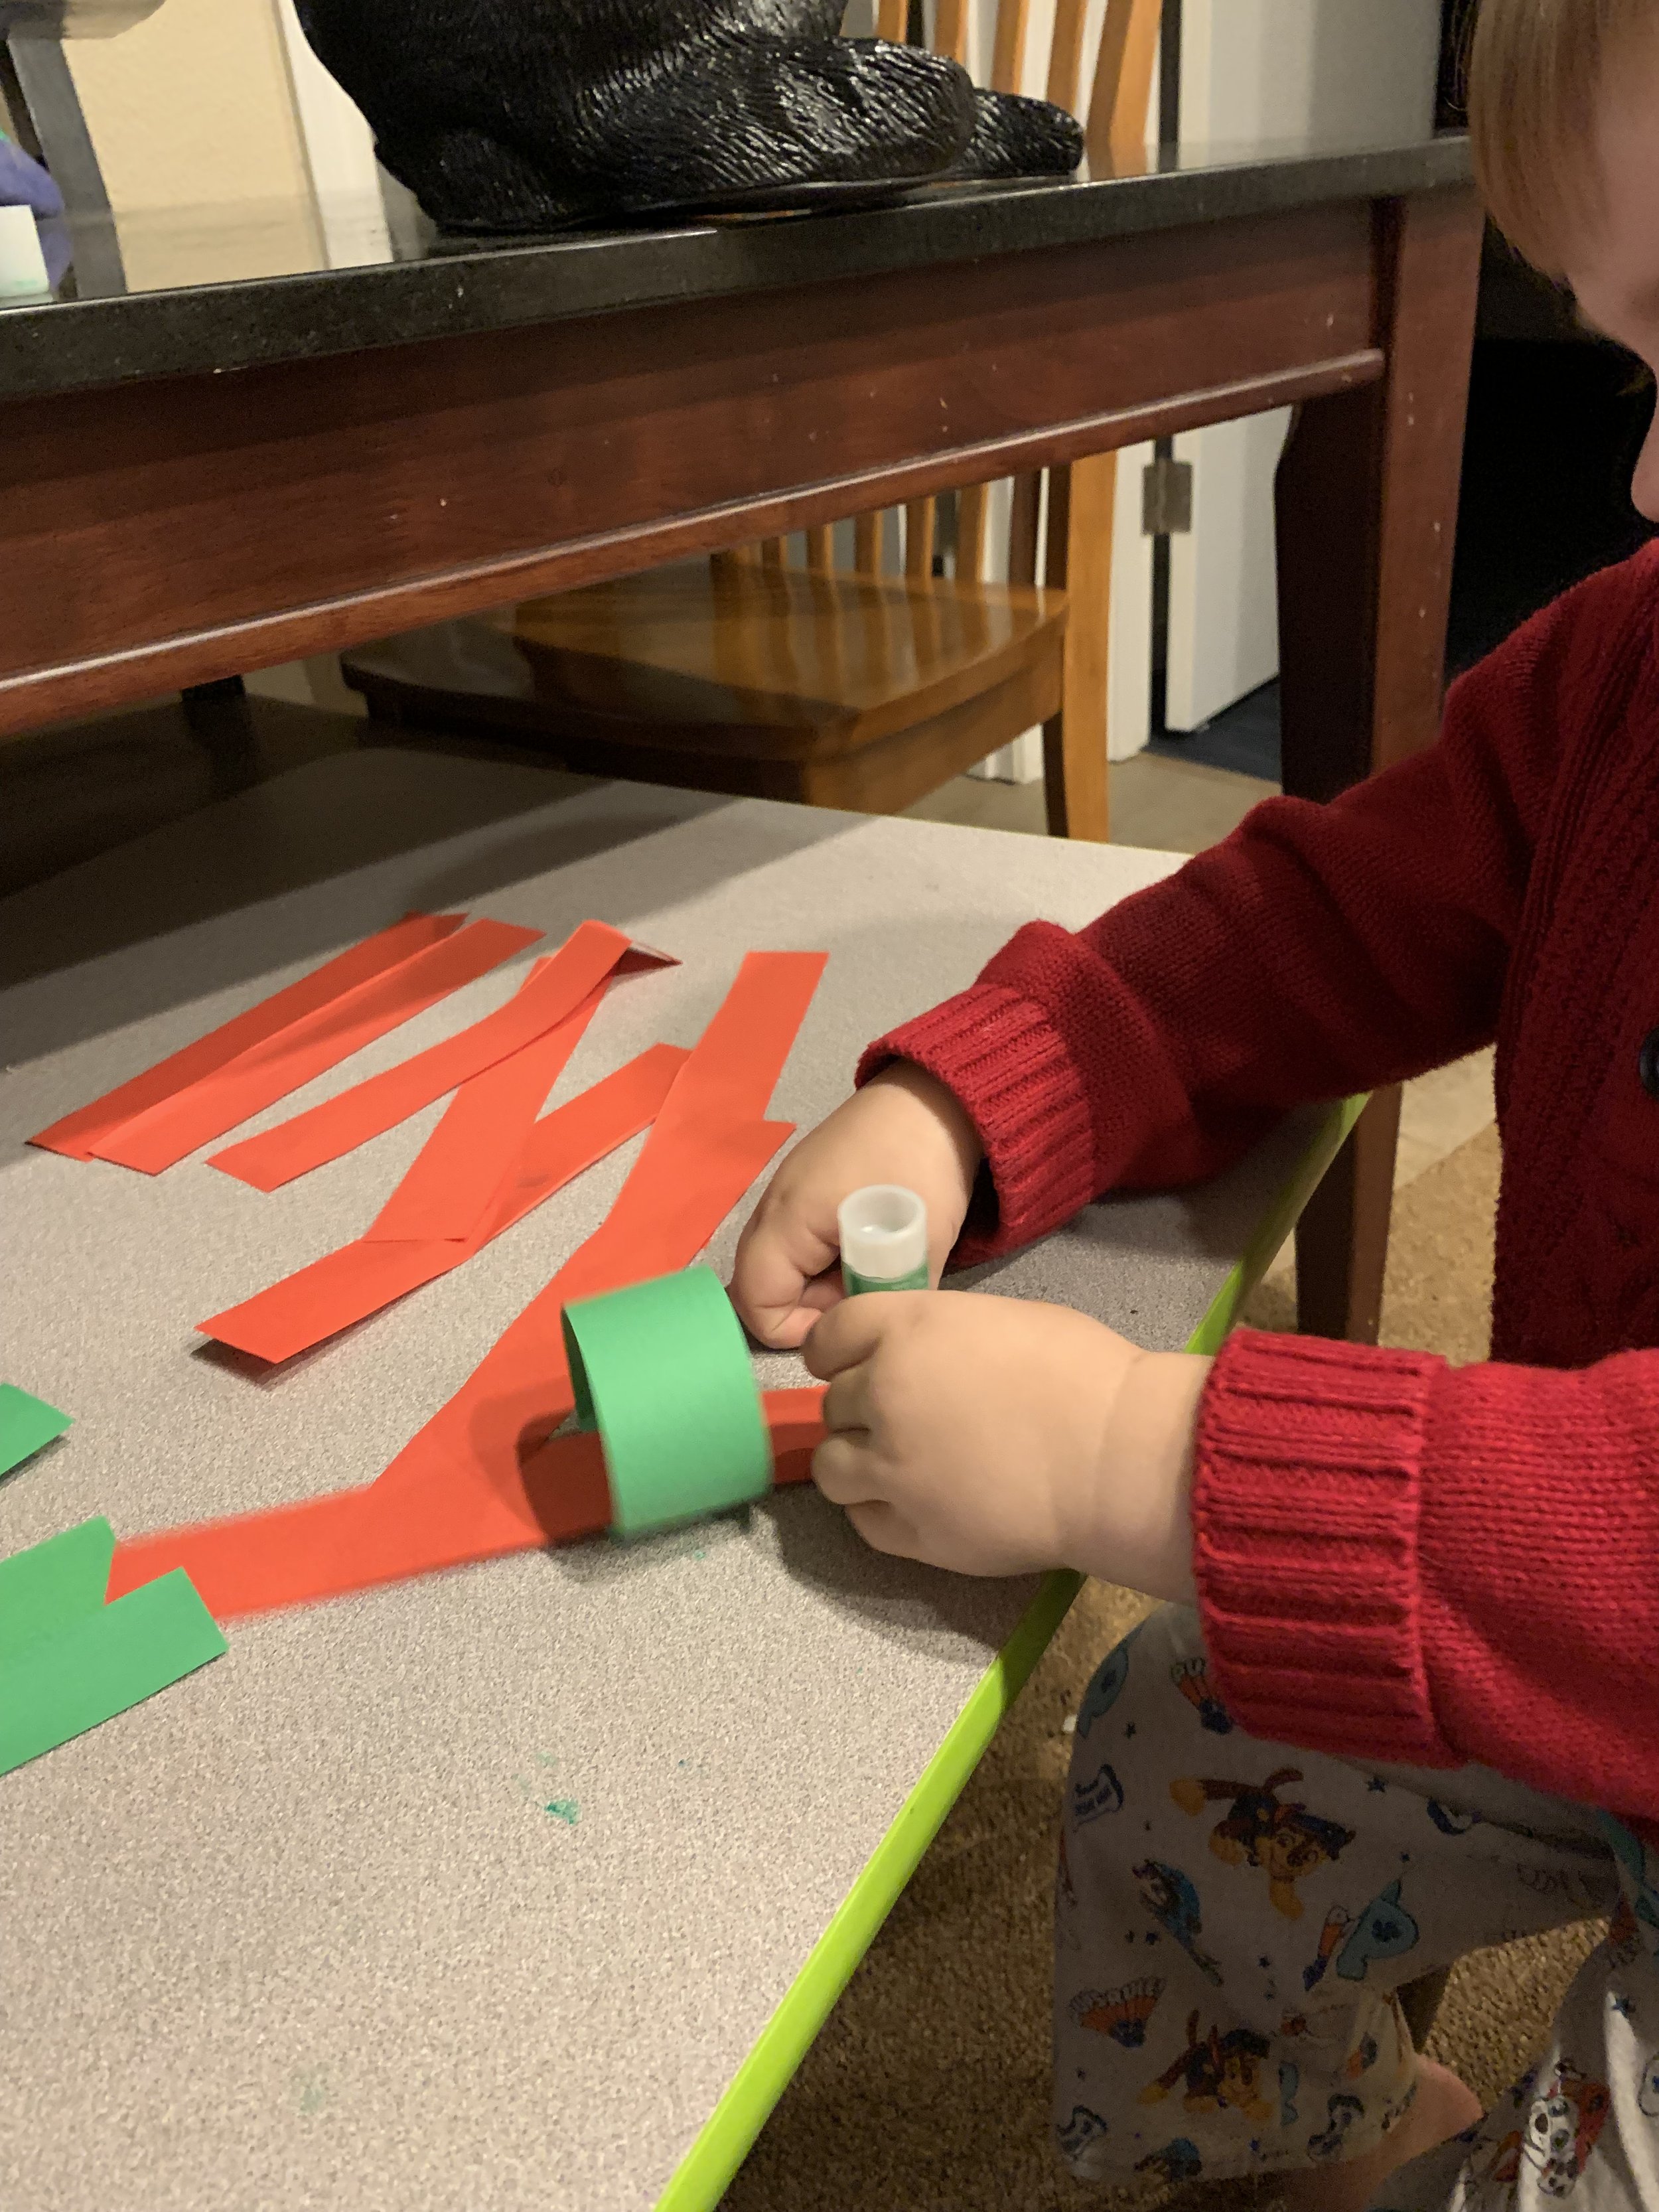
Advent Countdown Chains
A Craft to Help Kids Keep Track of Days
Countdown chains are a wonderful way to help children learn counting skills and keep track of the number of days until a special event. They are fun to create so can also be made any length you want and used for decoration. They can be draped on the Christmas tree or strung around the room like streamers.
If you are making an Advent chain, many people choose to start using the chain on December 1 and include 24 loops so the last one is removed on Christmas Eve indicating Christmas is the next day.
In 2003 Advent starts on December 3 so you will only need 22 loops if you are starting on the first day of Advent. Many years Advent starts on one of the last few days of November. It always starts on the fourth Sunday before Christmas Day.
Even children as young as two can enjoy the experience of making chains. They will need support, but will benefit from the opportunity to participate and to learn about gluesticks, tape, or even liquid glue.
Older children may want to try staplers. The stapler needs to be small enough to fit inside the loops. It often helps to put the head of the stapler into the loop and keep the base on the outside.
Let’s Get Started:
The first thing you need is paper to cut into strips. With younger children I find that strips 1¼” to 1½” wide and 8” to 9” long work well. Once comfortable making chains, children can manage smaller sizes.
You may want to precut the strips, perhaps even with a paper cutter. Children who are competent with scissors can use the fold and cut method to create their strips. Even children learning to use scissors can attempt to fold the paper and cut the fold lines.
You can use construction paper, card stock, colored printer paper—even old wrapping paper or magazine pages can create interesting strips. Some wrapping paper has cutting grids on the back side that can be used a cutting guide to cut strips.
Unless you precut the strips, you will need scissors.
Gluesticks, glue, tape, or staplers will be needed to hold the paper strips in the form of loops.
Demonstrate how to use each attachment method.
Tape needs to put on the back of the strip sticky side up before forming the strip into a loop. Firmly press the tape in place.
Gluestick or liquid glue is best applied to the end of the strip while it is on the table.
When using liquid glue, younger children are typically more successful with a small dish or paper cup of liquid glue they can apply with a cotton swab or small paint brush. Giving them a bottle of glue is likely to end in disaster.
Once the glue is on the strip, form the strip into a loop bringing the sticky side over the other end and firmly pressing the tape or glue into place.
Make sure the ends overlap forming a loop—not a teardrop!
When using liquid glue, I suggest holding the ends in place while counting slowly to 10, or even 20, to make sure the glue adheres.
The Fold and Cut Method to Make Paper Strips
In this example we used construction paper.
Choose your colors. (We decided on red and green. Older children may want to use more than two colors and create a pattern.)
Fold both pieces in half hamburger style (short side to short side) and cut along the fold line.
Fold the resulting four pieces in half hot dog style (long side to long side) and cut on the fold lines.
4. Fold each of those 8 pieces in half hot dog style and cut on the folds.
5. Now you have 8 strips of each color.
6. Repeat the fold and cut steps with more sheets of paper until you have as many strips as you want.
Assembling the Strips:
1. Take one strip and form it into a circle. Secure the ends using gluestick, glue, tape, or staple.
2. Once you have the first loop formed, take another strip and thread it through the first loop before forming it into a loop.
3. Continue putting another strip through and forming it into a loop until your chain reaches the desired length or you run out of paper strips.
Chain Challenge
Here’s a chain challenge for kids to do as individuals, partners, or in teams. More hands to hold things together and more people thinking about how to solve the challenge can be helpful if kids have experience working together.
This was a favorite challenge with elementary students.
The challenge: Make the longest chain you can using only one sheet of paper. You may cut or tear the paper anyway you want.
Materials:
1. Paper—one sheet of paper per individual, partnership, or team.
Any size paper is fine as long as everyone gets the same size. I often use construction paper. (It typically comes in 9" x 12"; 12" x 18"; or 18" x 24".) Printer paper or even notebook paper is fine. If the paper is small and you have partners or teams, you may want to give two or three sheets each.
2. Scissors
3. A way to attach the strips into loops—gluesticks, glue, tape, staplers. (Decide if all participants should have the same.)
4. Rulers or yardsticks (optional)
This is a challenge that can be done multiple times as children experiment with changing strip length and width to create the longest chain. If teams are working at the same time, children will learn from watching each other’s results and that’s fine.
The idea is to experiment and have fun.


